Stock Photos
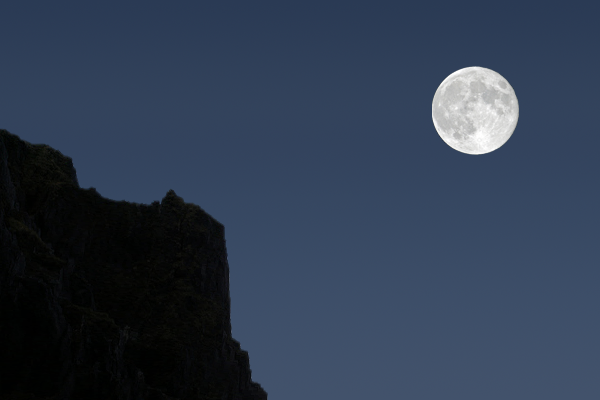
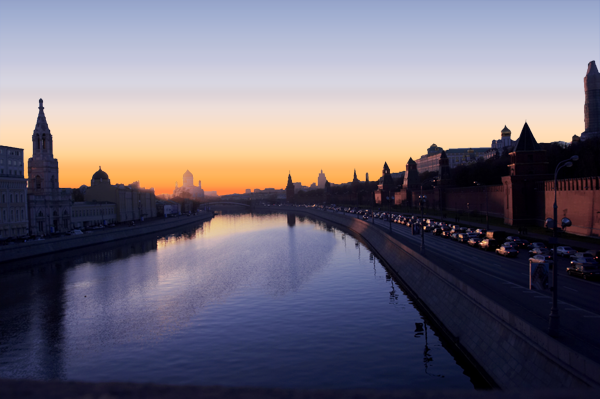
Here are the stock photos used for this tutorial. You can download the image through Stock Exchange by clicking on the images below. We used the highest resolution (unscaled) images available to write this tutorial. If you would like to follow this tutorial using the same settings we used, download the highest resolution (unscaled) images available.

Thanks to LeoSynapse for allowing the use of this image in this tutorial.

Thanks to Sh0dan for allowing the use of this image in this tutorial.
IMPORTANT: When working with any image in photoshop, always play things on the cautious side and make new layers for everything. This way, if you make a mistake, you won't have to start all over, but you might just have to re-do one layer, possibly saving you hours of work. Everything in this tutorial should be done on separate layers.
This tutorial is split in two parts: Blender and Photoshop. I am not going to go over all the basics for Blender, because that could take all year. Instead, I would recommend you go to youtube and watch some tutorials from super3boy... he seems to know what he's doing, and I learned the basics from him. You might even be able to follow along without seeing any outside tuts, but I'm recommending them just in case.
FRINGE Promotional Wallpaper Tutorial – Part 1
Step 1 - Blender
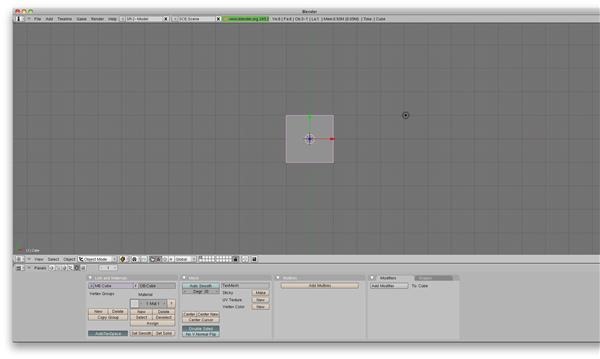
In a new project file, you'll see the default cube.
Step 2 - Delete The Cube
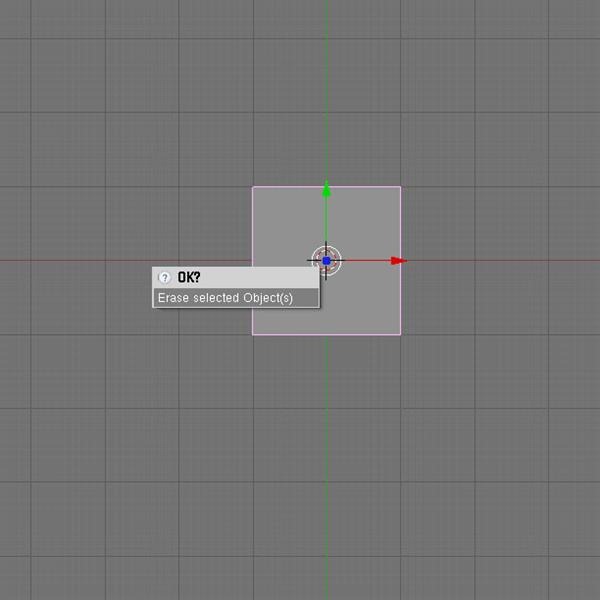
Hit delete, and erase that sucker!
Step 3 - Text
Hit spacebar, and add text.
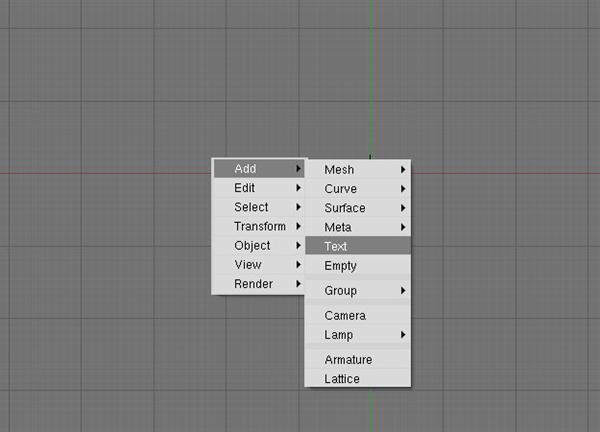
Hit backspace to delete that default text and then type in your text.
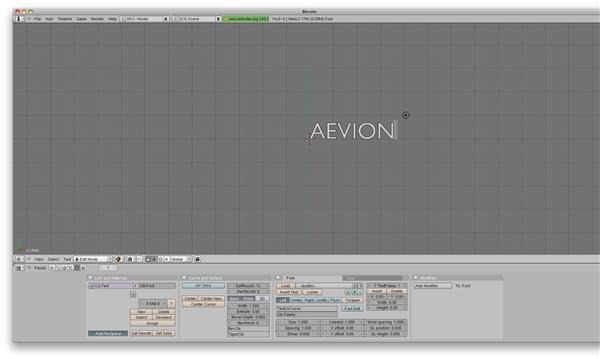
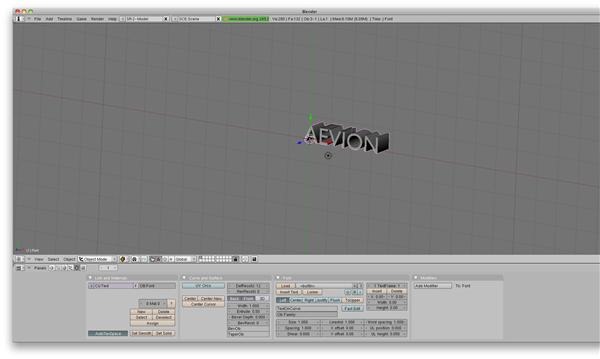
Change the extrude to .5. Then hit tab when you're done, so then you'll be in object mode instead of edit mode.

Step 4 - Change The View
Press and hold alt/option while clicking and draging with your mouse to change the view to something like this.
Step 5 - Add A Camera
Hit spacebar, and add a camera.
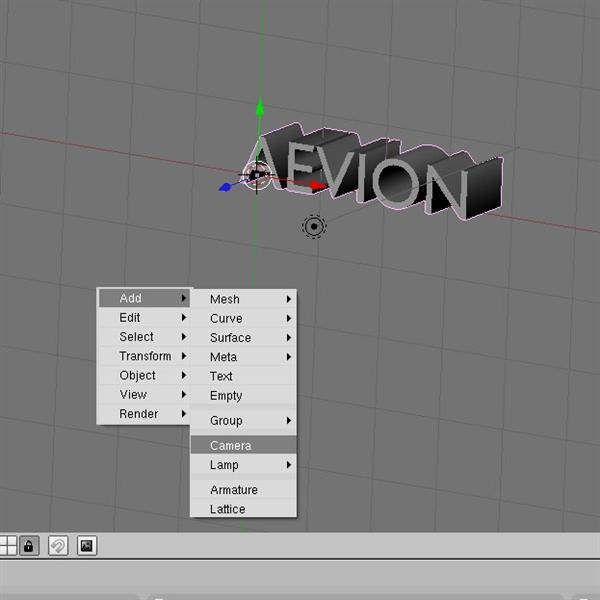
Move the camera so that it is in front of your text. You might have to change your view to do this right.
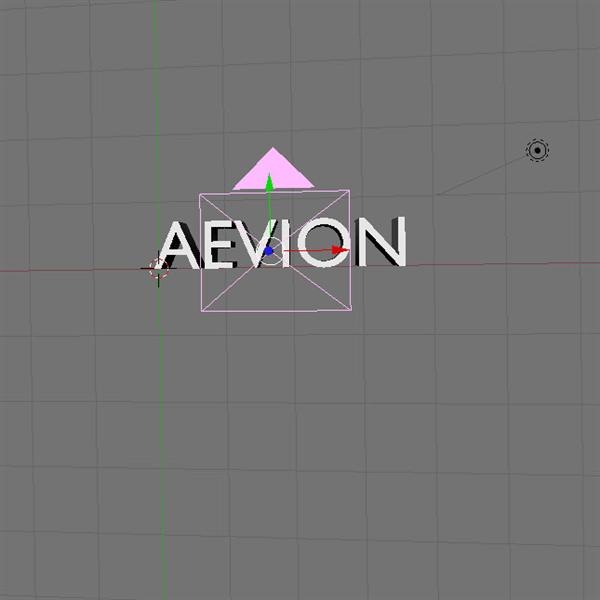
Step 6 - Add A Light
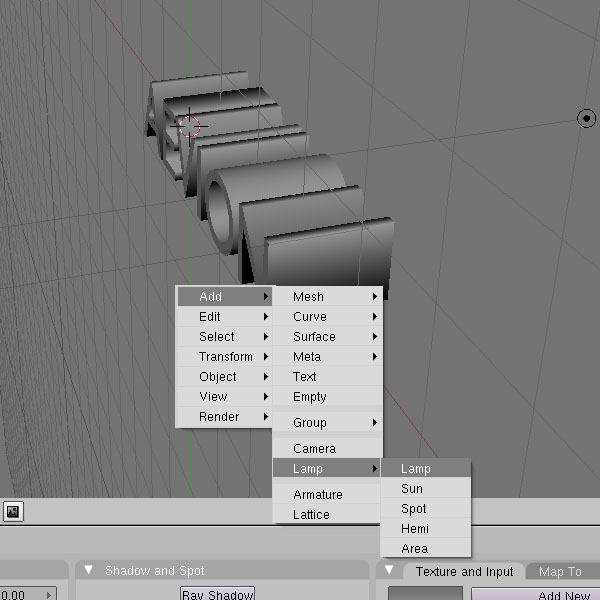
Hit spacebar, and add a lamp.
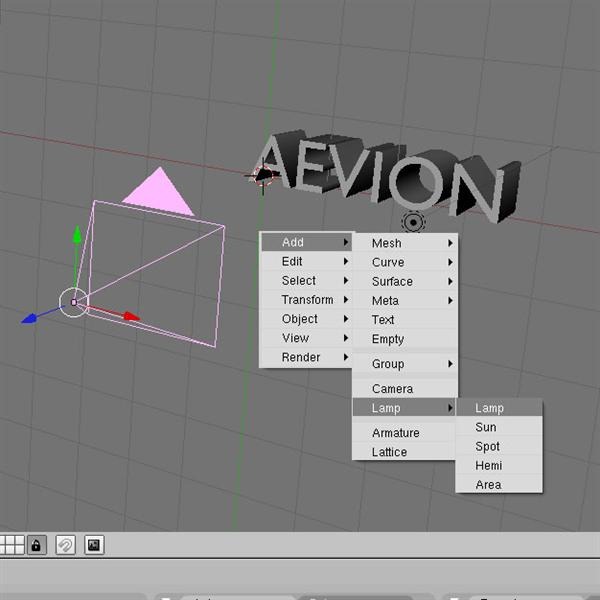
It puts it here.
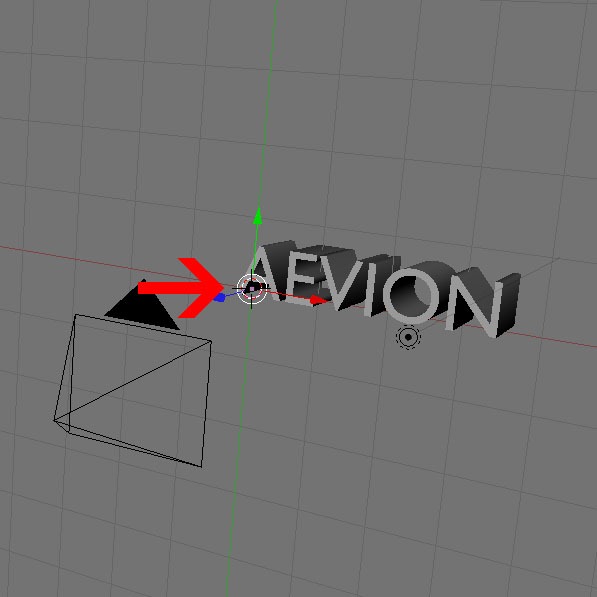
Move it away from the text, and center it.
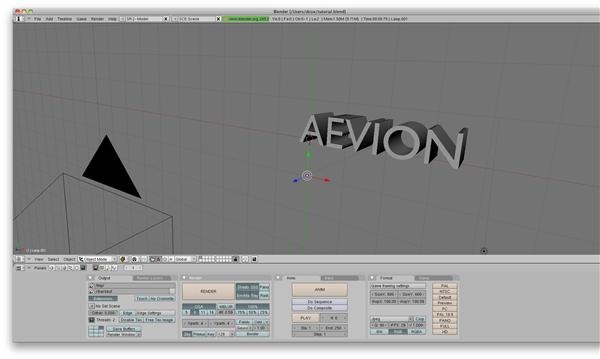
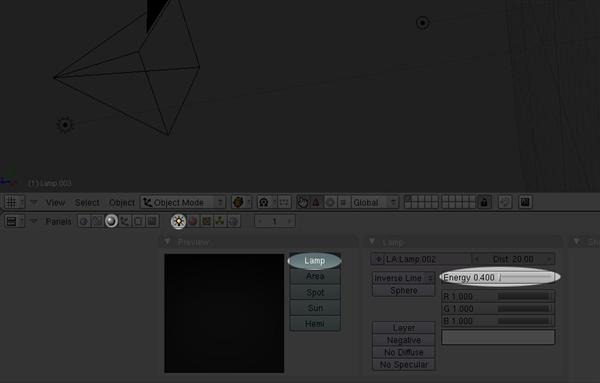
In the materials tab, bring down the energy to .4
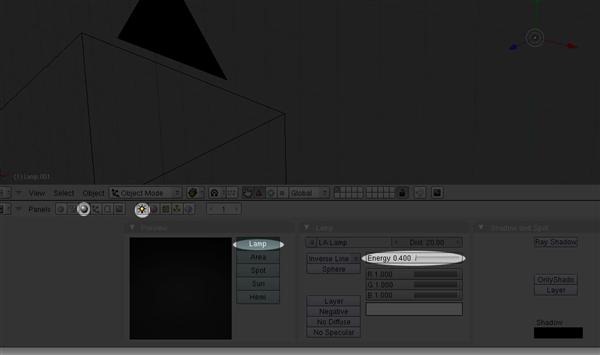
Step 7 - Add Another Light
Just like before, add another lamp, and move it behind the text and center it.
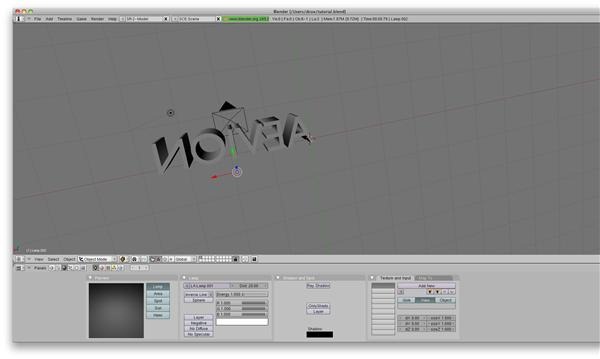
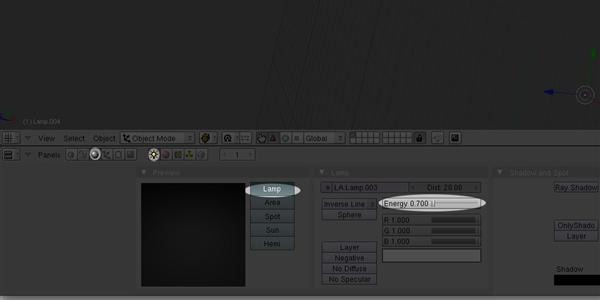
In the materials tab, bring down the energy to .7
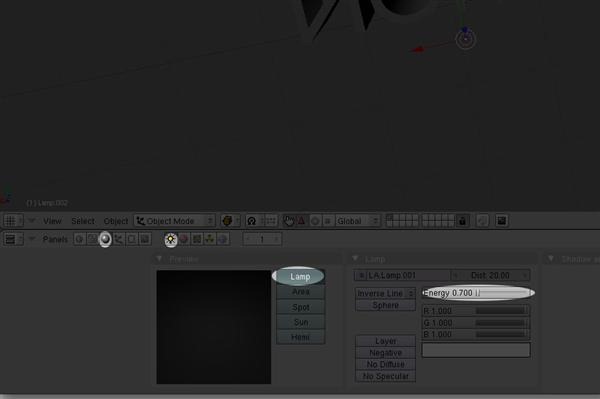
Step 8 - Add Another Light
Hit spacebar, and add another lamp.
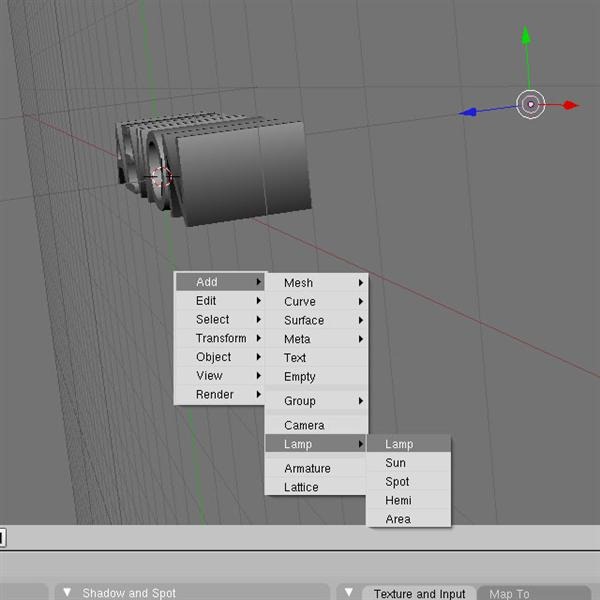
Move it above the text and center it.
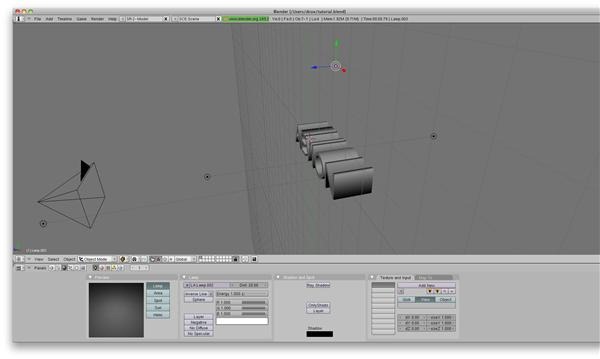
In the materials tab, bring down the energy to .4
Step 9 - Add Another Light
Hit spacebar, and add another lamp.
Move it below the text and center it.
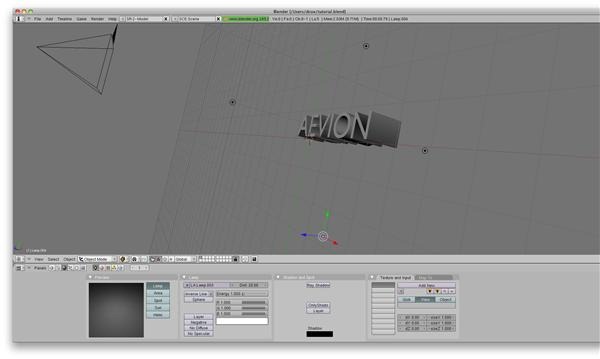
In the materials tab, bring down the energy to .7
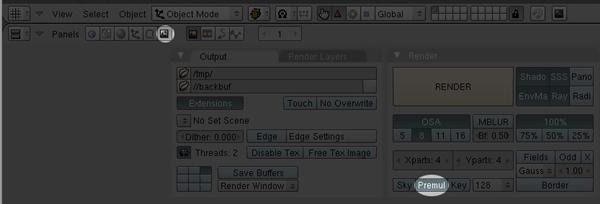
Step 10 - Prepare to Render
Things you want checked: Render tab, Premul, Size (Large enough for our photoshop wallpaper), PNG (instead of jpeg, because we want a transparent background), and RGBA (for transparency)
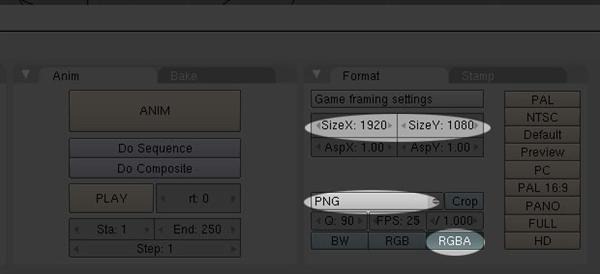
Render away my friends. When your done, hit F3 and that will allow you to save the file.
FRINGE Promotional Wallpaper Tutorial – Part 2
Step 11 - PHOTOSHOP
Ahh, home at last. Go ahead and create a new document that is 1920x1200 (standard HD wallpaper size).
Invert to black (Control/Command + I).
Step 12 - Lights
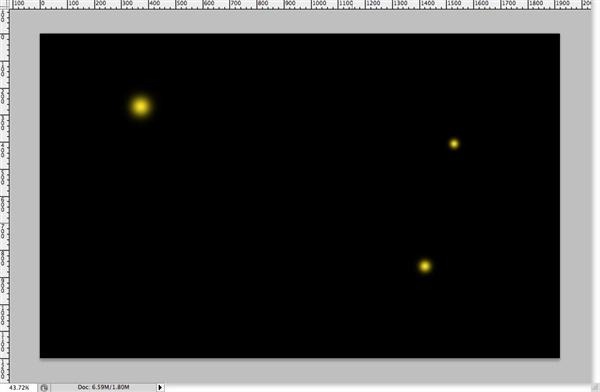
In a new layer, make 3 or so yellow lights. #FFF000 will do fine. Alter the sizes of these lights. Make the lights using a 100% soft circular brush. The biggest one that I made was 100px, and the smallest was around 45px.
Step 13 - Grain
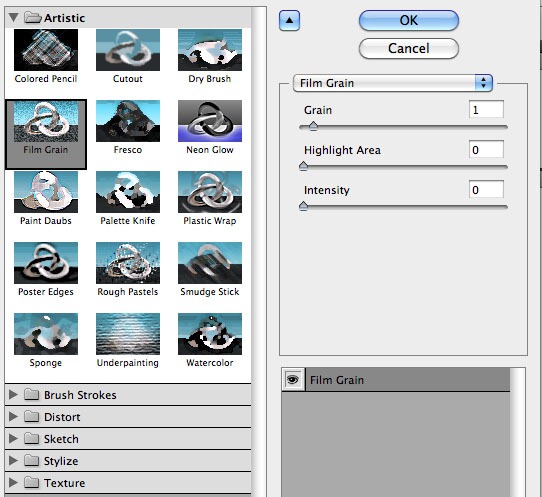
This is a little trick that I always do to images that I want to look like they were taken out of a movie. In a new layer (and be sure that this layer is on the top, and that it stays there), fill the layer with black, and then go to Filters > Artistic > Film Grain, and customize to these settings.
Step 14 - Open Your Apple Slice
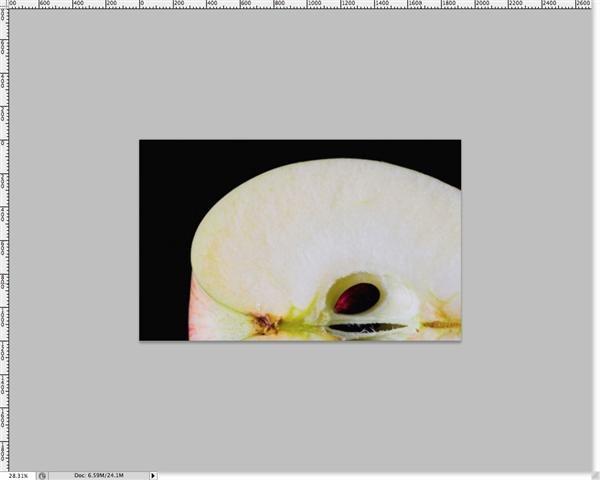
Copy and paste your apple into the composition. Right now it is way too big.
Step 15 - Scale It Down
Hit control/command + T and scale the apple down to an appropriate size to work with.
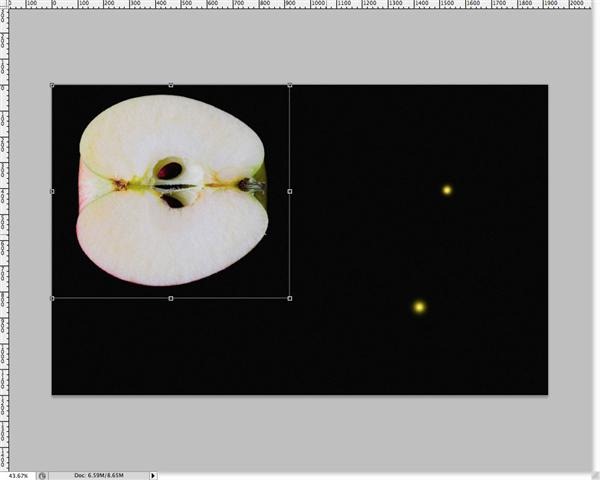
Rotate it and scale it further until your are happy with it.
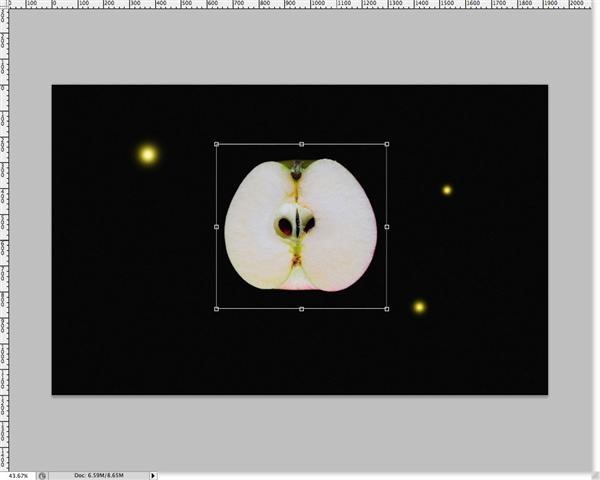
Step 16 - The X-Ray Effect
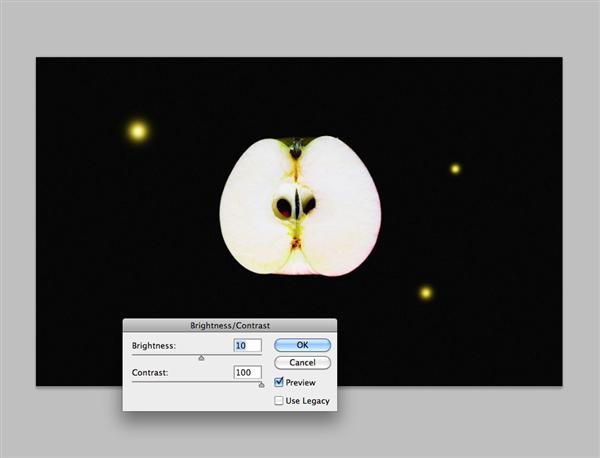
I've never read any tuts (assuming there are some) on how to do this, so I just came up with this method, and it seems to work pretty well. Go to Image > Adjustments > Brightness and Contrast, and boost up the lightness and the contrast accordingly. My Values -- Brightness: 10, Contrast: 100.
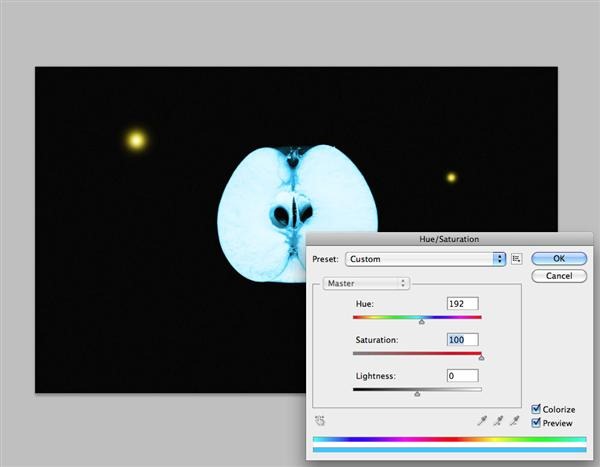
Change the colors by going to Image > Adjustments > Hue and Saturation. Hit the colorize button, and move the hue to 192, and the saturation up to full.
Using the dodge tool, paint over the region shown in Red. You should stop when you see that the color is white in the middle. Use a fairly large, soft brush for this.
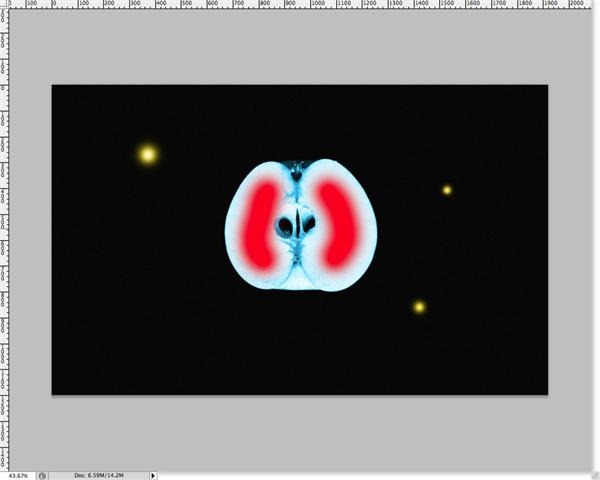
You'll be done when you see something like this:
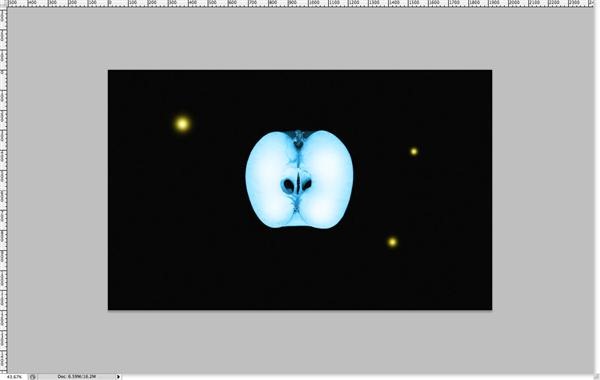
Step 17 - 3D Text
Now open up that 3D text that you rendered, and paste it in there. Move it down so it isn't over the Apple.
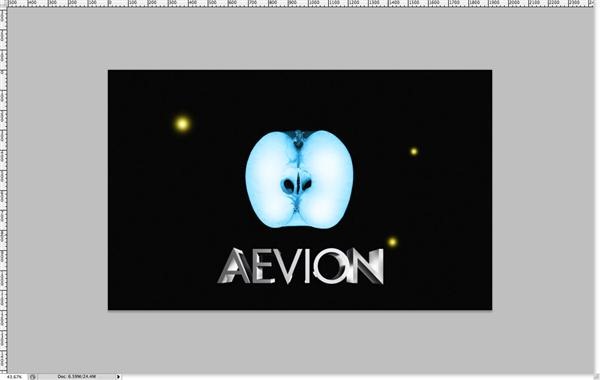
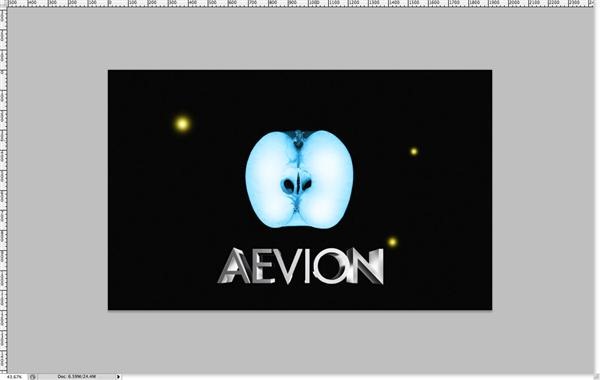
Duplicate your 3D text layer (control/command + J) and to to Filters > Stylize > Glowing Edges and customize to these settings -- Edge Width: 1, Edge Brightness: 2, Smoothness: 1. When your done, set the layer blending mode to Screen.
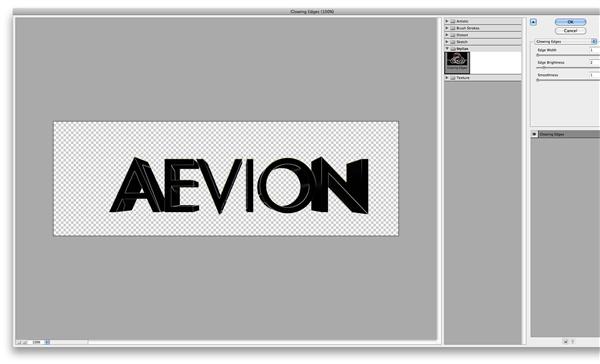
Then you should see something like this:
Step 18 - Butterflies
Open up your butterlfy image, and extract it from the white background using whatever method you prefer. Then paste in a few of them... move them around, resize them, and rotate them so they look different from one another.
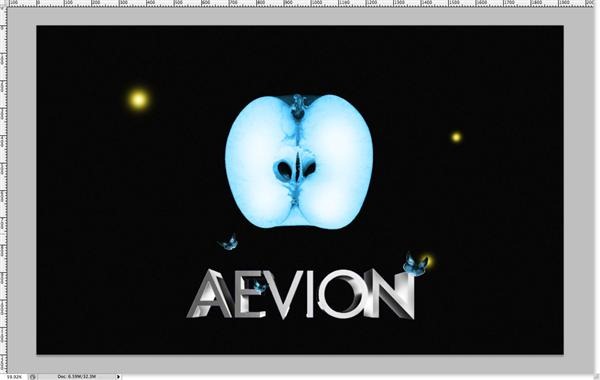
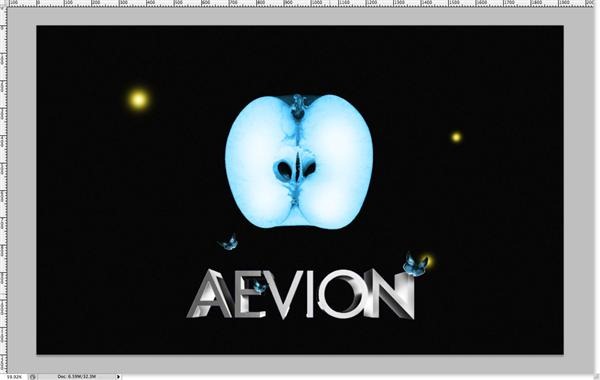
If you place them like I have, then you'll need to apply some shadows where the butterflies are over the letters. To do this, first make a new layer underneath the butterflies. Then, take a soft brush and using black, paint underneath the butterflies. Then lower the layer's opacity to around 50%.
Step 19 - Promo Text
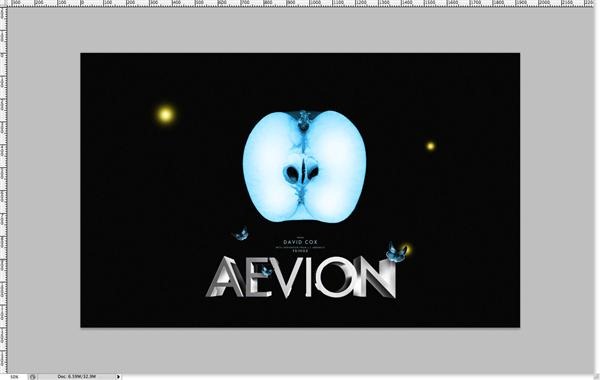
Then, make a text box that spans the entire width of the wallpaper. Center the text, and type in whatever message you want. I used a font called futura, and a light blue for the color.
Conclusion
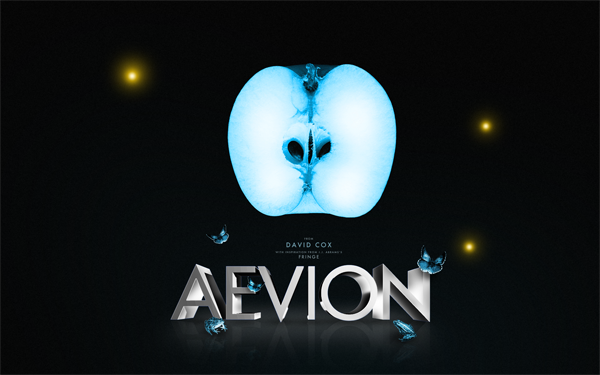
Here is the finished project from these tutorial steps:
Feel free to experiment a bit with layer opacities, and see if you can do anything on your own design to improve this image... that's where all the fun and learning is anyway! I went a little further and added in some toads, and a ground, but you guys can do that on your own.
I hope that you have learned something new by reading this tutorial, and I also hope that you haven't run into any difficulties (if you have, leave a comment with your concern and I or someone else will be happy to help you). Thank you for reading, and I look forward to your feedback.
Download the PSD
FRINGE Tutorial.psd | 10 MB
SOURCE::http://photoshoptutorials.ws/photoshop-tutorials/text-effects/fringe-promotional-wallpaper-tutorial/all-pages.html
