Version: Photoshop 7
Level: Easy
Objectives: Photoshop 7.0 brings new features that produce some stunning effects.
Tools & Techniques: 3D Transform Filter
Step 1: Getting Started
Its simple to use and you can create some realistic three-dimensional effects for print or the web.
- Create a new file in Photoshop
- Set the background to Transparent and a size of 400 X 400 pixels.
- Select 3D Transform filter: Filters > Render > 3D Transform
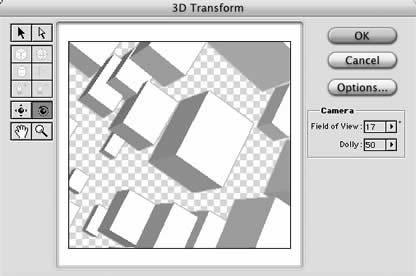
- On the left side there are shapes, select the one that looks
like a box - Start creating boxes to fill the whole window with the boxes.
It should look something like the following image:
 |
Step 2: Rotating the Boxes
- Select the Trackball Tool. This will allow you to rotate the boxes and get their 3D look.
- Rotate the boxes until you get the shading effect which creates depth
 |
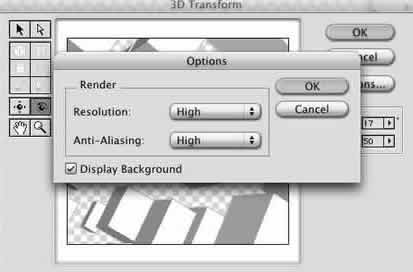
Step 3: Customizing the Boxes
- Click the Options button
- Set Resolution and Anti-Aliasing to High to eliminate any "jaggies".
 |
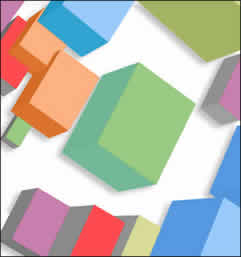
Now you have some Three-dimensional shapes all done within Photoshop.
Add some color and drop shadows to the boxes and they leap right off of the page.
SOURCE::http://www.cbtcafe.com/photoshop/3dtutorial/page2.html
No comments:
Post a Comment